
Adding Documents and Using Document Folders
This article will teach you how to organize your site documents in folders. This will be helpful to both you and your contractors because you will be able to locate specific documents more quickly in the UtiliSync Inspect app.
Instructions
- Open the UtiliSync Docs app and sign in to your account.
- Select the site that you are interested in from the map. Clicking on the site opens the Site Info Panel. Under the Site Name and Address at the top of the panel, click on the Docs tab.
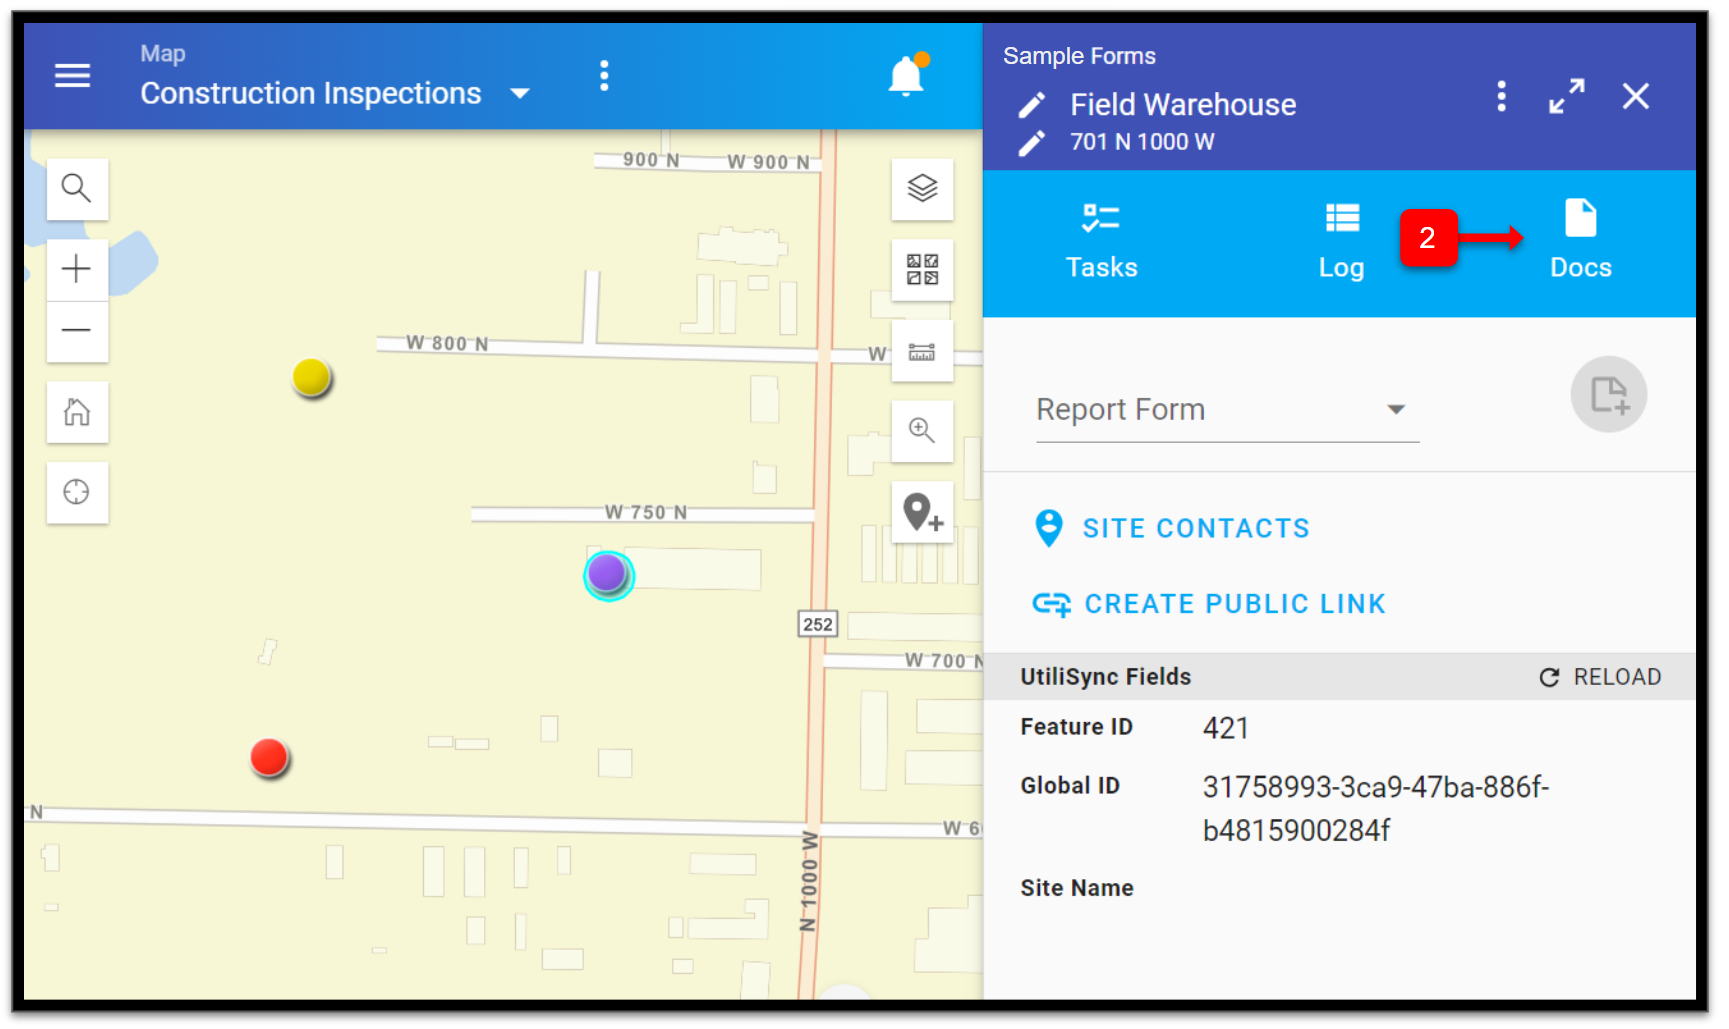
- You can see and open all of the files that have been uploaded to the site here. NOTE: You and Site Contacts can both create folders and put documents in them.
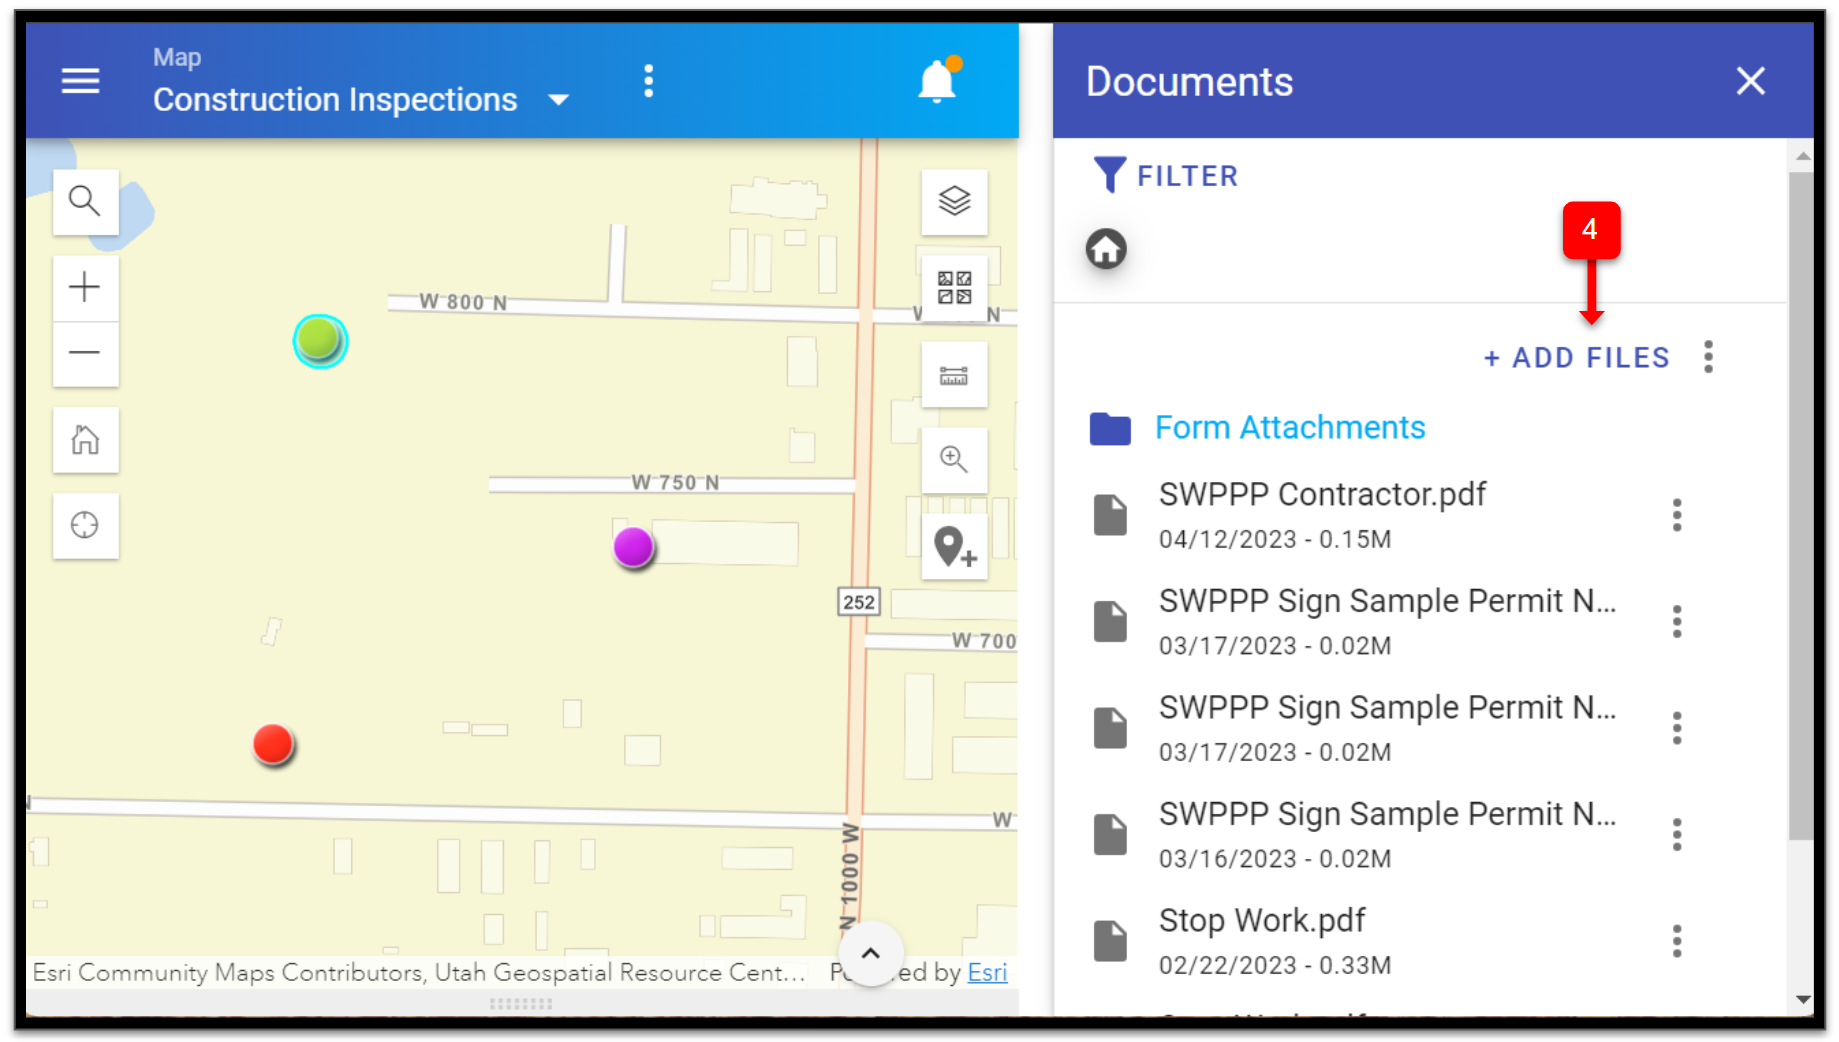
- Click on the + ADD FILES button in the Documents panel. NOTE: If you are going to put a document in a folder, this is the only time you can do that. If you simply select your file and add it, it will be in a long list of documents without organization unless you use a filter. You cannot move a document into a folder after the document has been uploaded.
- In the Add Files dialog, click on the file folder arrow button. This will allow you to either create a new folder or select an existing folder to add your document to.

- If you let your Site Contacts know what folders would be helpful to you, they can create them and put their documents in folders as they upload them. You may want documents organized into folders such as Site Permit, NOI, Fugitive Dust, SWPPP Documents, Site Map, or Operator Inspections. NOTE: You cannot create an empty folder. When you add a document you can also create a new folder, or you can put it in an existing folder, but if you are not adding a document, you cannot create a folder.
- When you have selected your document, you can add a description if you'd like, then click on the SAVE button.
Success! You can now create and use folders to organize your documents in UtiliSync.